
 If you've been reading this blog for a while, you know I've not had a traditional vegetable garden since we moved out of the suburbs and onto our mountaintop homestead almost six years ago. A variety of things kept me from making a "proper" garden, including expense, time pressures, and not being sure where to put a large garden. (Yes, we live on acreage, but much of that acreage is wooded.) Instead, I've been planting in one raised bed (inter-cropping various veggies with asparagus) as well as in pots, old bathtubs, and pieces of culvert pipe. It's been less than ideal. (May I never have to drag a long hose all over our yard again!) But I was still able to grow almost all of our vegetables.
But last year, the deer RAVAGED the garden, and because of this, we had to buy store-bought veggies last fall, winter, and into this spring. (Why, after years of growing food here, did the deer suddenly get more aggressive about eating from our garden? I believe it's because our closest neighbors moved away. They were up at all hours making noise, scaring deer away. They also hunted a lot of venison. When they left, a major deterrent departed.)
So first, let me tell you how we created our new garden from scratch; then I'll detail how we are keeping the deer at bay.
How We Created Our New Vegetable Garden
We had a sunny patch of land across the driveway from our chicken coop; it held a falling-down shack, weeds, and some invasive blackberries. It seemed like a good location for a garden, so the first thing my husband did was push the shack over with an excavator; he then hauled the debris to the dump. (Truly, nothing was salvageable!)
 |
| The garden site after the shack and debris were removed and the soil was scraped. |
Next, he scraped the soil, removing as many of the blackberries as possible. These invasive blackberries are notorious where I live, being almost impossible to completely remove. Digging them up helps, but there are always roots left behind. We will have to really keep on top of them so they don't overtake the space again.
Our soil is heavy clay. I've learned the hard way, elsewhere in our yard, that even easy-to-grow domestic plants struggle to grow in our native soil. So I sourced some garden soil mixed with lots of compost and my husband trucked it home. (If you don't have the ability to truck in soil yourself, find a place that will bring soil or compost to you. This is what I did with the vegetable garden at our suburban homestead. If you're starting just a small garden, you can use homemade compost. Learn how to make compost here. Just remember that compost takes time to decompose into something you can use in the garden.)
I spent a lot of time mulling over what to do next. Raised beds would have been ideal, but they are fairly expensive, especially with the cost of wood these days. While we do live in the woods, none of our trees are hardwood - and we live in a damp environment; using our own lumber for raised beds would mean replacing the wood every few years - definitely not something we wanted to do.
Then I considered weed barrier cloth. This is designed to go directly over tilled or mowed ground; to plant seedlings, you cut holes in the cloth just big enough for each plant. But this makes it hard to rotate crops, because the holes are permanent and any hole left without a plant growing in it will allow weeds to crop up. In addition, I like to direct sow some things, so a barrier cloth was problematic for that reason, too. Finally, good barrier cloth isn't cheap - and its made of synthetic materials, meaning it leaves plastic-like particles behind as they break down. (I do not recommend cheap barrier plastic; it degrades fairly quickly and then you have bits of plastic floating all around your garden, contaminating your soil.)
I also considered lasagna gardening (also called sheet mulching), but I did not have access to enough organic materials, such as peat moss, hay,
dead leaves, etc. (You can read more about the lasagna gardening method here.)
Finally, I decided to use a similar no-dig method. I'd used this method in a small way in our suburban gardens, and it worked well. Yes, currently our weeds are more persistent than most people's (because there are no concrete streets, sidewalks, or driveways to keep weeds at bay, and there's lots of wild land surrounding us with tons of weeds - plus, we have a fair amount of wind, which blows weed seeds into our garden beds). However, I believe that with persistence, this method will work for us.
To begin, my husband freshly mowed the area. Then I laid down cardboard in a double layer, always well overlapping any edges or openings. Ideally, I would have watered that cardboard down, but I forgot to. It really wasn't a big deal, since the water just helps begin the process of breaking down the cardboard - and spring is rainy for us. (In other words, nature did the watering for me.)
Then we spread some manure over the cardboard; you can skip this step, but we have lots of rabbit, quail, and chicken manure, so I figured I may as well use it. Finally, we put the garden soil/compost mixture on top, shaped into a berm. We cheated and used a backhoe for this, but in the past, I have definitely done it the old fashioned way, with a wheel barrow and a shovel.
 |
| Layered cardboard, followed by a sprinkling of manure. (The manure is optional.) |
 |
| Covering the cardboard with garden soil or compost. |
The amount of cardboard I'll need to finish this garden is...well, quite a lot. It has to be corrugated and it can't be shiny. I posted an "In Search of" ad for cardboard boxes on Facebook Marketplace and no one replied. I even searched online for places to buy cardboard in bulk - but I didn't have any luck. (I didn't really want to spend money on this, anyway.) So, I kept my eye open on Marketplace and periodically found someone who'd recently moved and had boxes they were giving away. Usually, these boxes were already broken down and all I had to do was remove any stickers and packing tape from them. I also put the word out amongst our family that I would take any and all corrugated cardboard boxes - and consequently, my dad-in-law brought us a nice bundle. I also plan to ask around at furniture and appliance stores.
In all cases, I'm not picky about what I take. If someone offers me a bunch of boxes and a few have shiny photos on them (which are likely plastic-coated and therefore unsuitable for gardening), I take them, along with anything else they offer. They are doing me a favor, so I can dispose of inappropriate boxes, as needed.
In the next few days, I'll be covering the pathways (which are now cardboard-covered) with wood chips I can get for free locally.
Although most people (who don't live in wild areas) won't find this a big issue, if weeds do start cropping up in the garden beds, I will just trim them, cover them completely with cardboard, and then cover the cardboard with mulch, compost, or soil. Repeat as needed.
Steps to Create a No-Dig Garden:
Step 1: Prepare the area by mowing.
Step 2: Lay down double layers of cardboard, overlapping the edges well. If there are any holes or slits in the cardboard, you'll need to cover them with a different piece of cardboard (or weeds will grow up through the holes).
Step 3: Water down the cardboard. (I skipped this step because I let the rain do it for me after I completed step 4.)
Step 4: Lay aged manure over the cardboard (optional), then lay finished compost or good garden soil over the cardboard.
Step 5: Lay organic mulch, such as straw or wood chips, in the pathways. (This will help break down the cardboard and prevent future weed growth. Plus, it makes the garden look nicer.)
And that's really all there is to it! As you can see from the photos, I only have a few berms finished at this time. I need to add more, for sure, but this is a great start and it's easy to keep adding berms as time and materials allow. (A lot of people wonder if the berms stay in place or if the soil "drifts" or washes flat. I live in a rainy, windy area, and I have no issue with the soil washing or drifting away. In my suburban garden, I patted the sides of the berms firmly with my hands, thinking erosion might be an issue; this time, I skipped that step.)
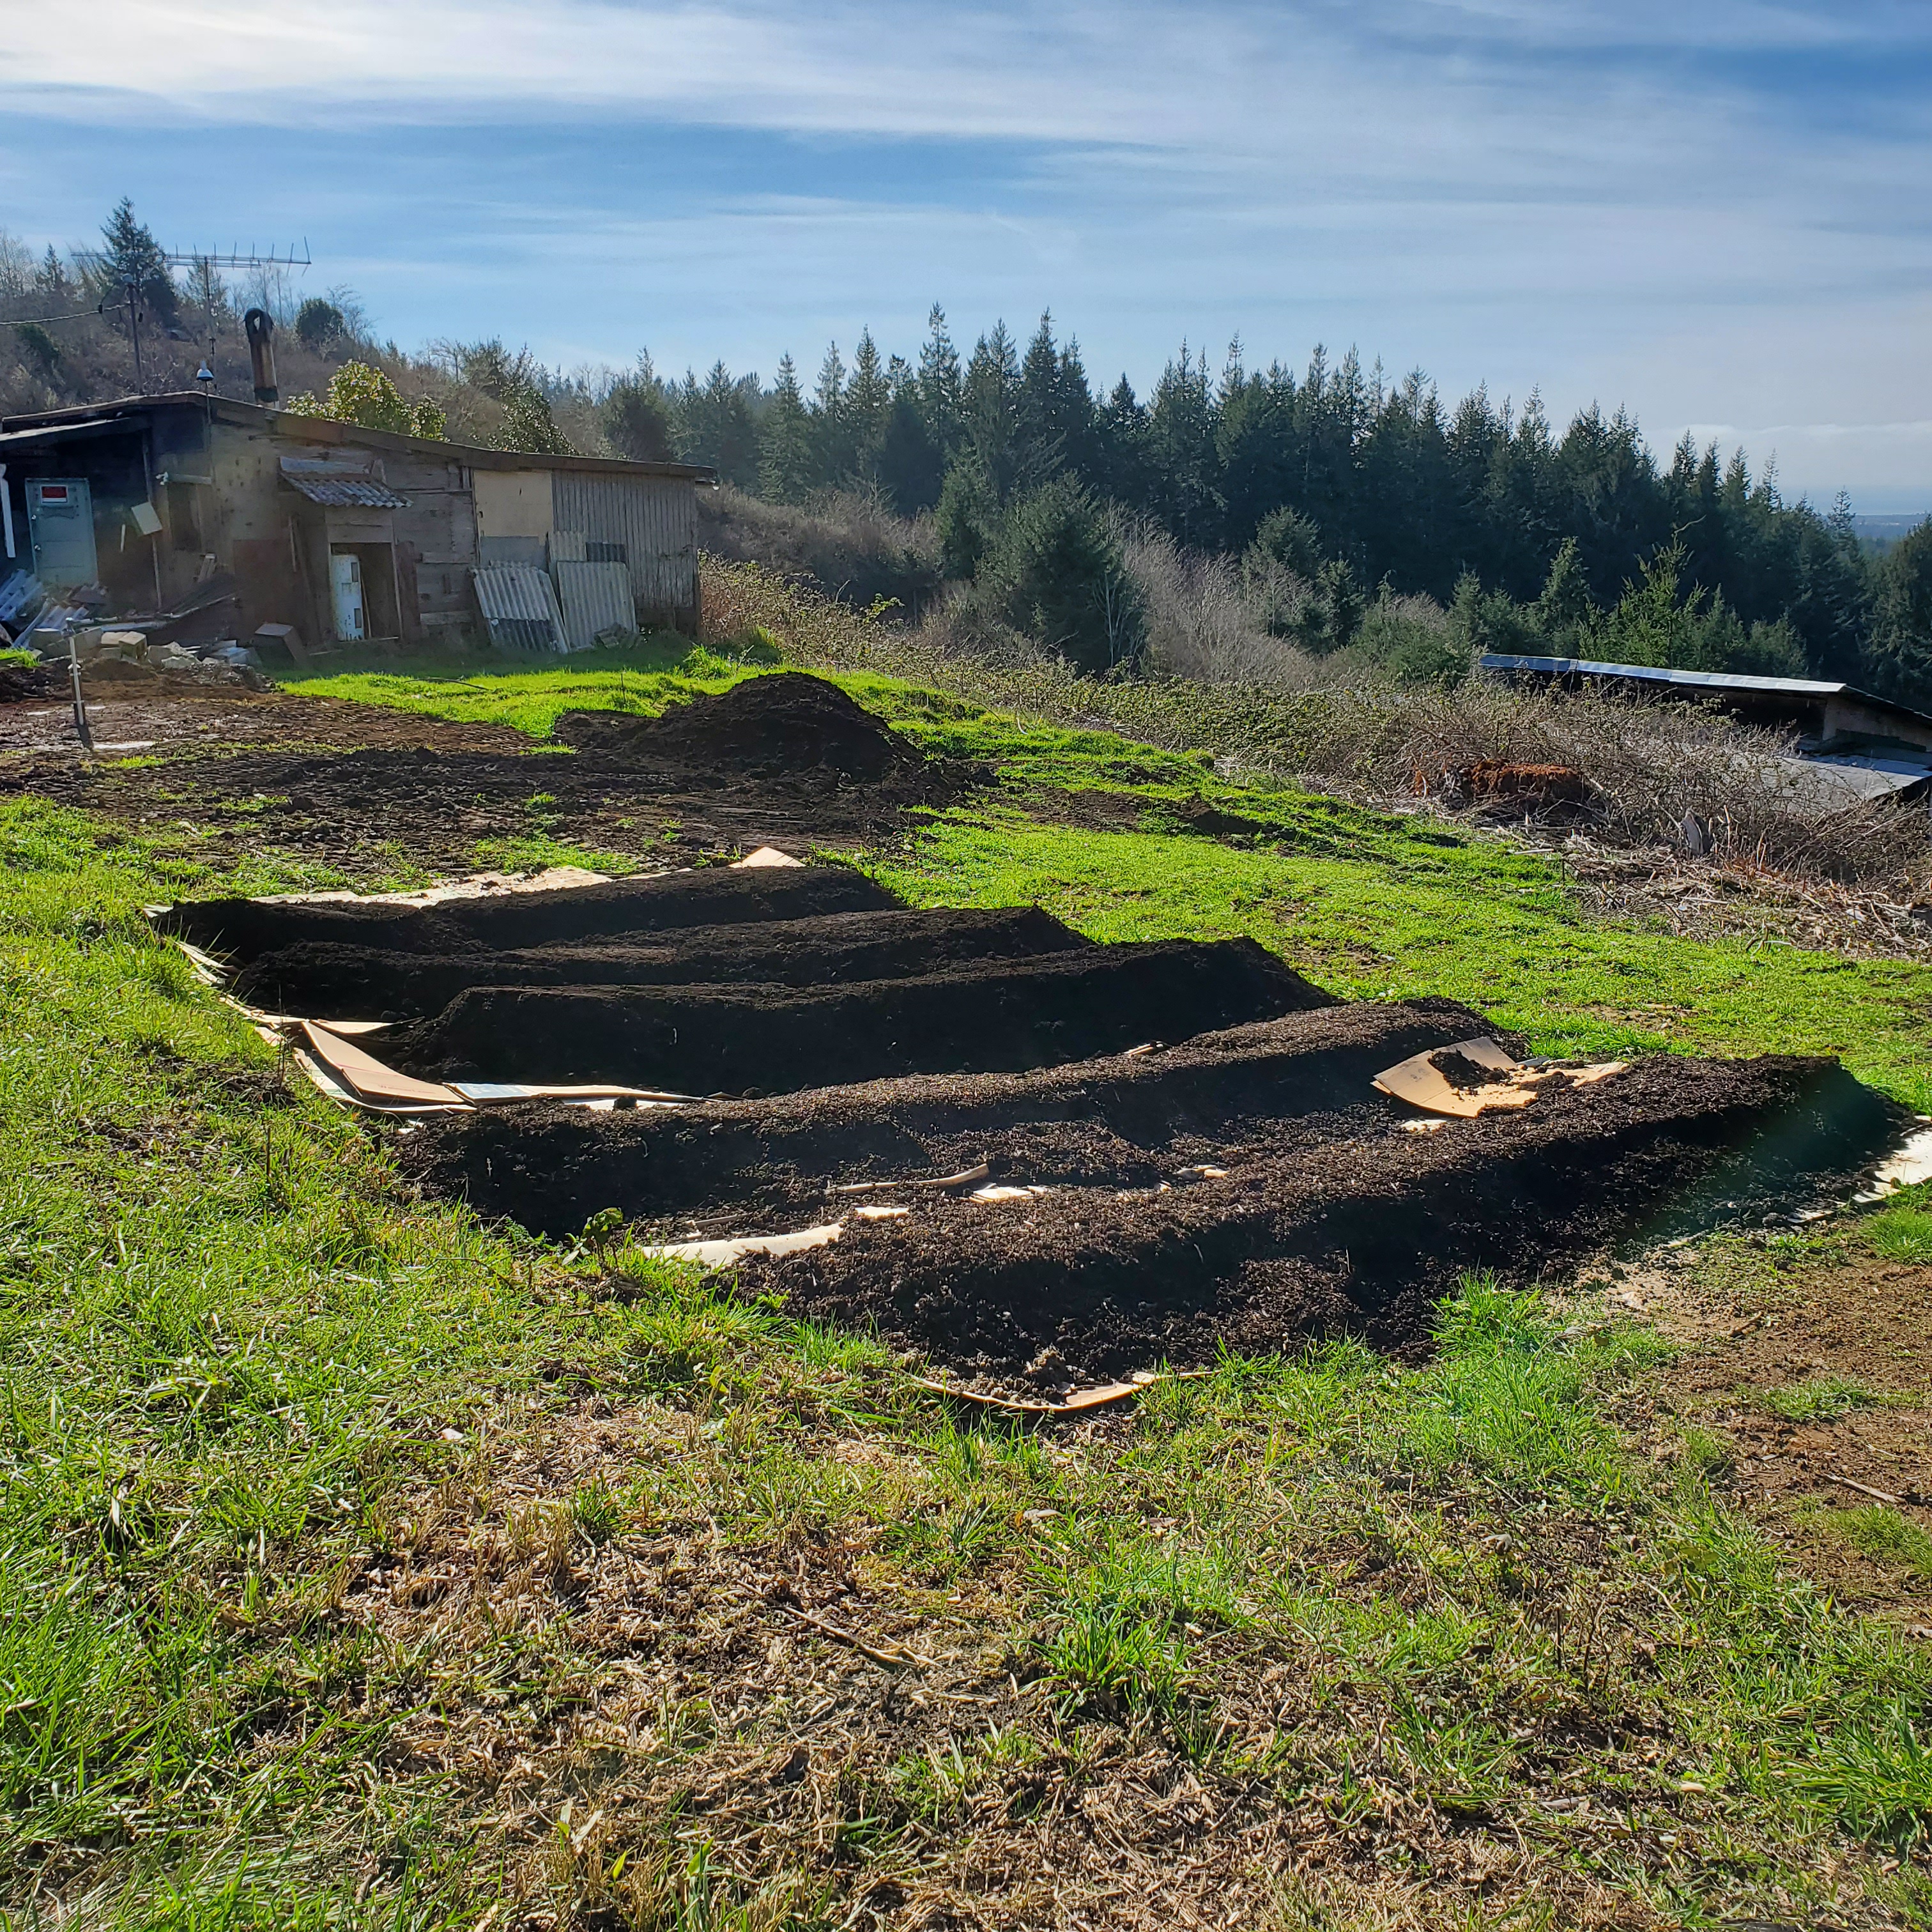 |
| The first several berms are completed! |
Bonus: Worms LOVE cardboard! They will appear out of nowhere and start doing their good work in your garden: enriching the soil with their manure, creating humus, improving soil structure, and more. Plus, by not tilling, you avoid damaging the soil...and the left-behind weeds and their roots, which have been storing up nutrients, gradually rot in the soil, fertilizing your desirable plants.
P.S. I'd be remiss if I didn't mention that my husband also put in a faucet (hydrant) especially for this garden bed!


I extensively researched ways to keep deer out of the garden; I even tried some of the tricks people swear by. What I found was that while some of those tricks work, they usually don't work permanently; the deer get used to whatever trick you're using and it no longer deters them.
So what is the least expensive, most sure way of keeping deer out? A deer fence. Which wasn't what I wanted to believe, since fencing is expensive. But growing our own food is very important to us and we have a large population of deer at all times of the year; we just needed to bite the bullet.
I looked at lots of different deer fencing, but in order to keep things as inexpensive as possible, deer netting was going to be as fancy as we got. Still, there is deer netting and there is deer netting. Some of it is quite thin and won't hold up over time, and some of it is thick and UV treated so it will last many years. I ended up choosing Tenax brand, maximum strength, which is supposed to last 20 years. I purchased it from Deer Busters. If you follow that link (I'm not an affiliate; I'm just sharing what worked for us!), you can see it's not cheap - but I think it's absolutely essential to garden success in my area. I was also pleased to find that the roll we purchased will allow plenty of fencing for the expansion I want to create in the garden next year.
The next hurdle was posts. Again, for us, wood was not a good option. Rot-resistant wood was just too expensive for our plans; t-posts, on the other hand, pretty much last forever. But we needed tall t-posts - at least10 feet. No one in our area had any. When I asked our local businesses if they could order in tall t-posts, they said they had no control over the sizes they were selling. Because there are shortages in metal and workers, manufacturers are only shipping out the most popular t-posts sizes, which - at least in my area - are all shorter than we required.
I even went online looking for tall t-posts (even though I figured the shipping would be crazy expensive). Nope. Couldn't find them there, either. So my amazing husband decided to buy shorter t-posts and weld them together to create 10 foot posts. That worked like a charm!
 |
| My hubby welding t-posts to the correct length. |
To put up the fence, my husband used a t-post driver to pound the posts into the ground at equal distances around the garden. That's no easy job, especially when the posts are 10 feet tall and the ground is uneven! (He had to stand in our side-by-side's truck bed for most of this job.) Then he attached the deer fencing (which, thankfully, was pretty easy to work with) to the t-posts with zip ties.
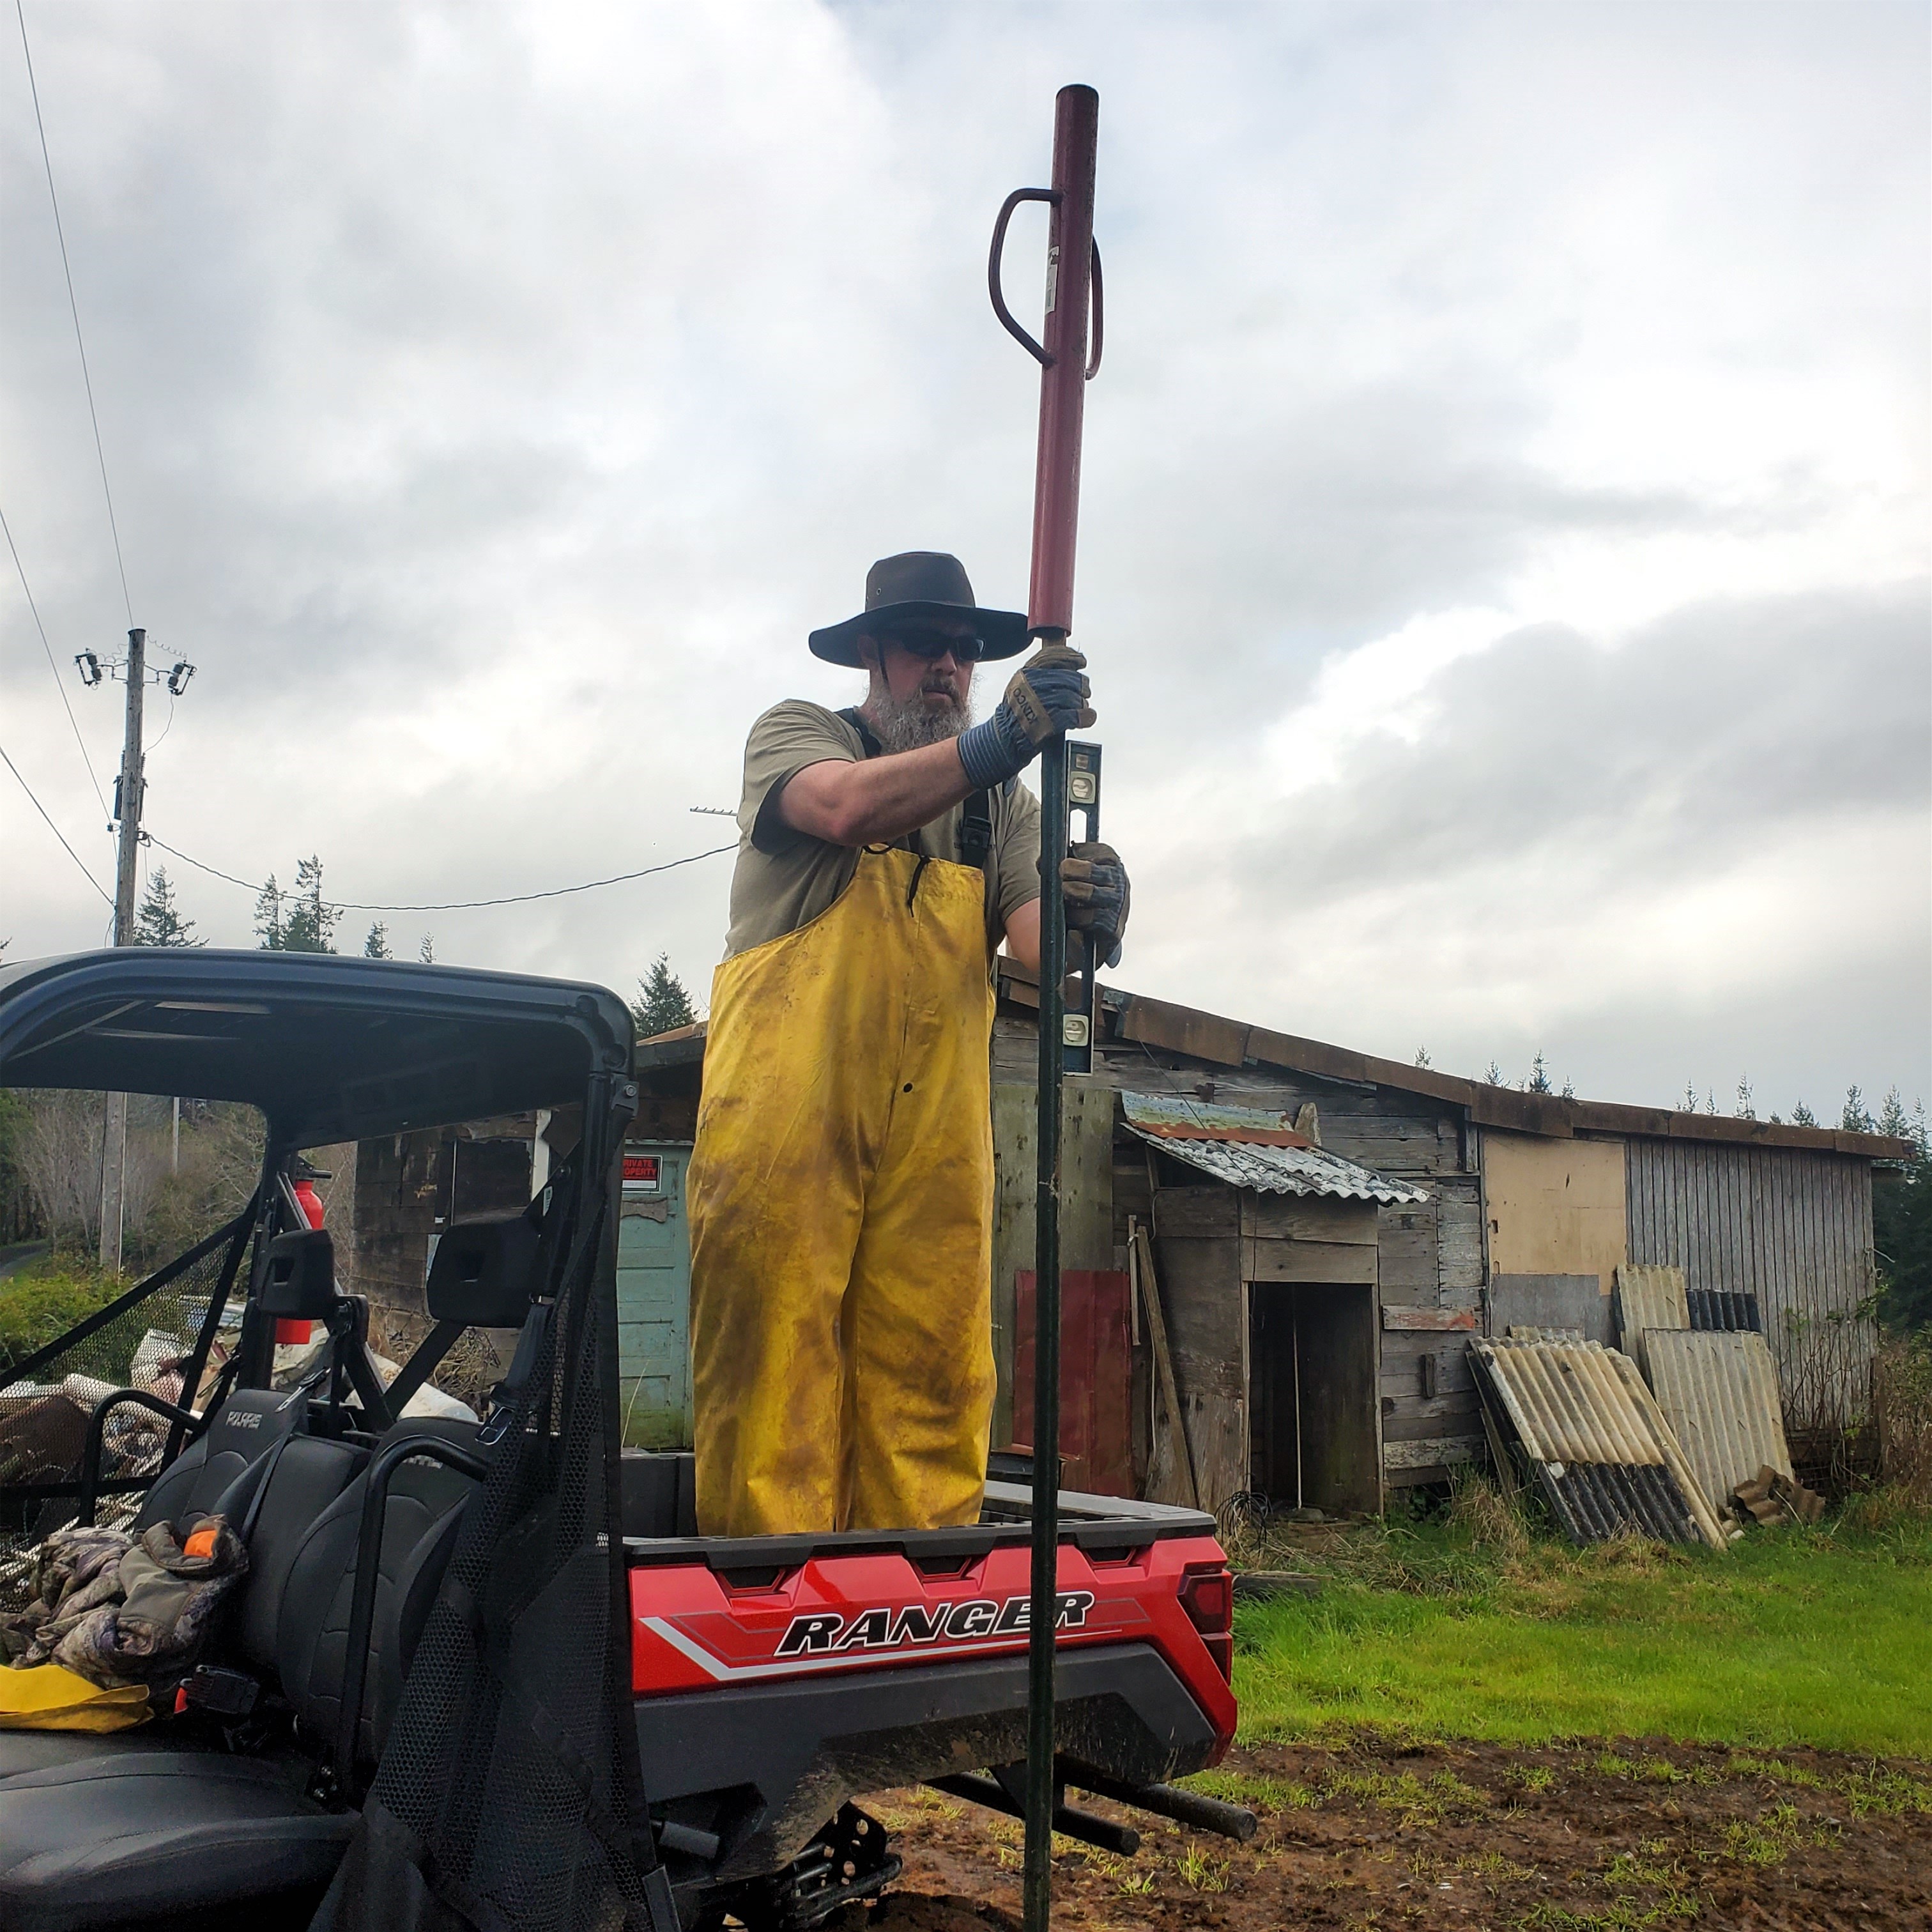 |
| Pounding t-posts. |
 |
| Only how many more to go?? |
To create the "gate" for humans to get in and out of the garden, he
simply left one end of the fencing free and stiffened the cut end by
clamping it between a couple of pieces of wood that are screwed
together. He attached three bungee cords to this wood, which easily hook
onto the opposite t-posts, creating a latch.

 |
| The latch. |
 |
| Close up of the latch. |
 |
| The fencing, while not fancy, isn't obtrusive, either. Notice I have both a manure pile and a soil pile for the building of additional berms. |
A few days ago, I planted some onion starts and radish and lettuce seeds into one of the beds. May the growing begin!
 |
| The garden is still a work in progress, but I'm already growing food. |
Other Ideas for Creating Gardens:
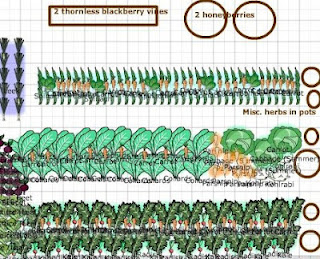
How to Plan a Small Vegetable Garden


nice
ReplyDeleteWhere do you get good garden soil?
ReplyDeleteI've purchased from local landscape suppliers or garden centers.
Delete