
 This post may contain affiliate links. As
an Amazon Associate, and at no cost to you, I earn from qualifying
purchases made through some links. Please see FCC disclosure for full
information. Thank you for supporting this site!
This post may contain affiliate links. As
an Amazon Associate, and at no cost to you, I earn from qualifying
purchases made through some links. Please see FCC disclosure for full
information. Thank you for supporting this site!Last year, I over-planted kale...big time. I start all my leafy greens by seed in the spring and then we eat off them all spring, summer, fall, and winter. (Yes, kale an collards overwinter nicely unless you get feet of snow! Learn more about overwintering veggies here.) And while we love leafy greens (especially when they are sliced and then sauteed in bacon drippings or olive oil, along with some onion, garlic, salt, pepper...and maybe some bacon pieces...yum!), there was only so much we could eat. I hate to see produce go to waste - and nobody seemed to want my free offerings of kale. Although I've blanched and frozen leafy greens in the past, this winter I thought: "I should try canning this kale."
But my schedule has been hectic this year, and my kale bolted (started to flower) before I got around to the project. Usually, this makes vegetables bitter, but my kale still tasted great. So last weekend, I finally took the plunge.
But before I give you the how-tos, I want to issue a couple of small warnings. I canned my kale in the morning, and when I went back
into the canning kitchen in the evening, it smelled like I had a gas or
propane leak...but I don't have any gas or propane in the canning
kitchen! The smell turned out to be the water in my pressure
canner, which was tinted green from the kale. So if you're canning
inside your home, you'll probably want to crack open a window.
Thankfully, when I opened a couple of jars several days later, the contents did not smell
like gas or propane! As far as taste went, my entire family preferred the jars
seasoned the way Angi Schneider suggests...but none of us were real fans of either version of canned kale. I want to stress here that we are used to lightly cooked leafy greens. If you enjoy
traditional Southern-style greens, which are cooked for a long time,
or store bought canned greens, you may well enjoy home-canned leafy
greens. You'll never know until you try them!
IMPORTANT NOTE: Canning leafy greens requires the use of a pressure canner. (Here's the canner I used.) Do not water bath kale or other leafy greens. Do not use a pressure cooker to can them, either. (Not sure what the difference is between a pressure canner and a pressure cooker? Click here.) If it's been a while since you've pressure canned, review this how-to guide.
 |
| Harvesting over-wintered kale for canning. |
How to Can Kale & Other Leafy Greens
The National Center for Home Food Preservation (NCHFP) says it takes about 28 pounds of leafy greens to fill 7 quart jars. After picking a large basket-full of kale and then removing the large stems, I had about 4 lbs. of Wild Russian kale, which gave me 7 pint jars, plus part of a half-pint jar: Enough to fill my canner. Here's the process:
1. Start by using the freshest leafy greens possible. Do not use frozen greens. Do not use older greens that are getting wilty from sitting in the refrigerator. Do not use greens that look yellow or brown.
2. NCHFP instructs us to thoroughly wash leafy greens before canning them. While I wouldn't have washed my kale before sauteing it for dinner, I went ahead and washed them for this project. I simply filled my sink with cool water and added a few large handfuls of kale at a time. If your greens are dirty, you'll need to rinse and repeat as needed. In my case, the water stayed clean, so I didn't repeat the washing.
3. Remove the thick stems. For most greens, you can simply place your fingers on the bottom of the stem, then run them down the sides of it to push off the leaves.
4. Place an inch of two of water in a large pot and place it over medium heat. Once the water is hot (not simmering or boiling), add the prepared greens. The idea here is to just wilt the leaves. To prevent overcooking, stir repeatedly. Remove wilted leaves with a slotted spoon and place them in a sink filled with ice water (to stop the cooking). You can also use a steamer basket for this step; this is the one I use.
5. In the meantime, fill a pot with water and place it over high heat. Bring to a boil.
6. Pack the prepared greens into pint or quart jars, leaving 1 inch headspace.
 |
| Packing jars. |
7. Add seasoning. NCHFP recommends 1/2 teaspoon of canning salt per pint jar or 1 teaspoon per quart jar. In The Ultimate Guide to Preserving Vegetables, Angi Schneider recommends 1/4 teaspoon of garlic powder, 1/4 teaspoon of canning salt, 1 teaspoon of bottled lemon juice, an 1/4 cup of chopped onions for every pint jar. I did some jars just with salt and some with Angi's seasonings. (See my review of Schneider's book here.)
 |
| Adding seasoning to jars. |
8. Pour boiling water into the jars, maintaining 1 inch headspace.
9. Bubble jars, wipe rims, put on a lid and ring, and process pint jars for 1 hour and 10 minutes, quart jars for 1 hour and 30 minutes in a pressure canner.*
* NOTE: Read this important information about adjusting canning times for your altitude.

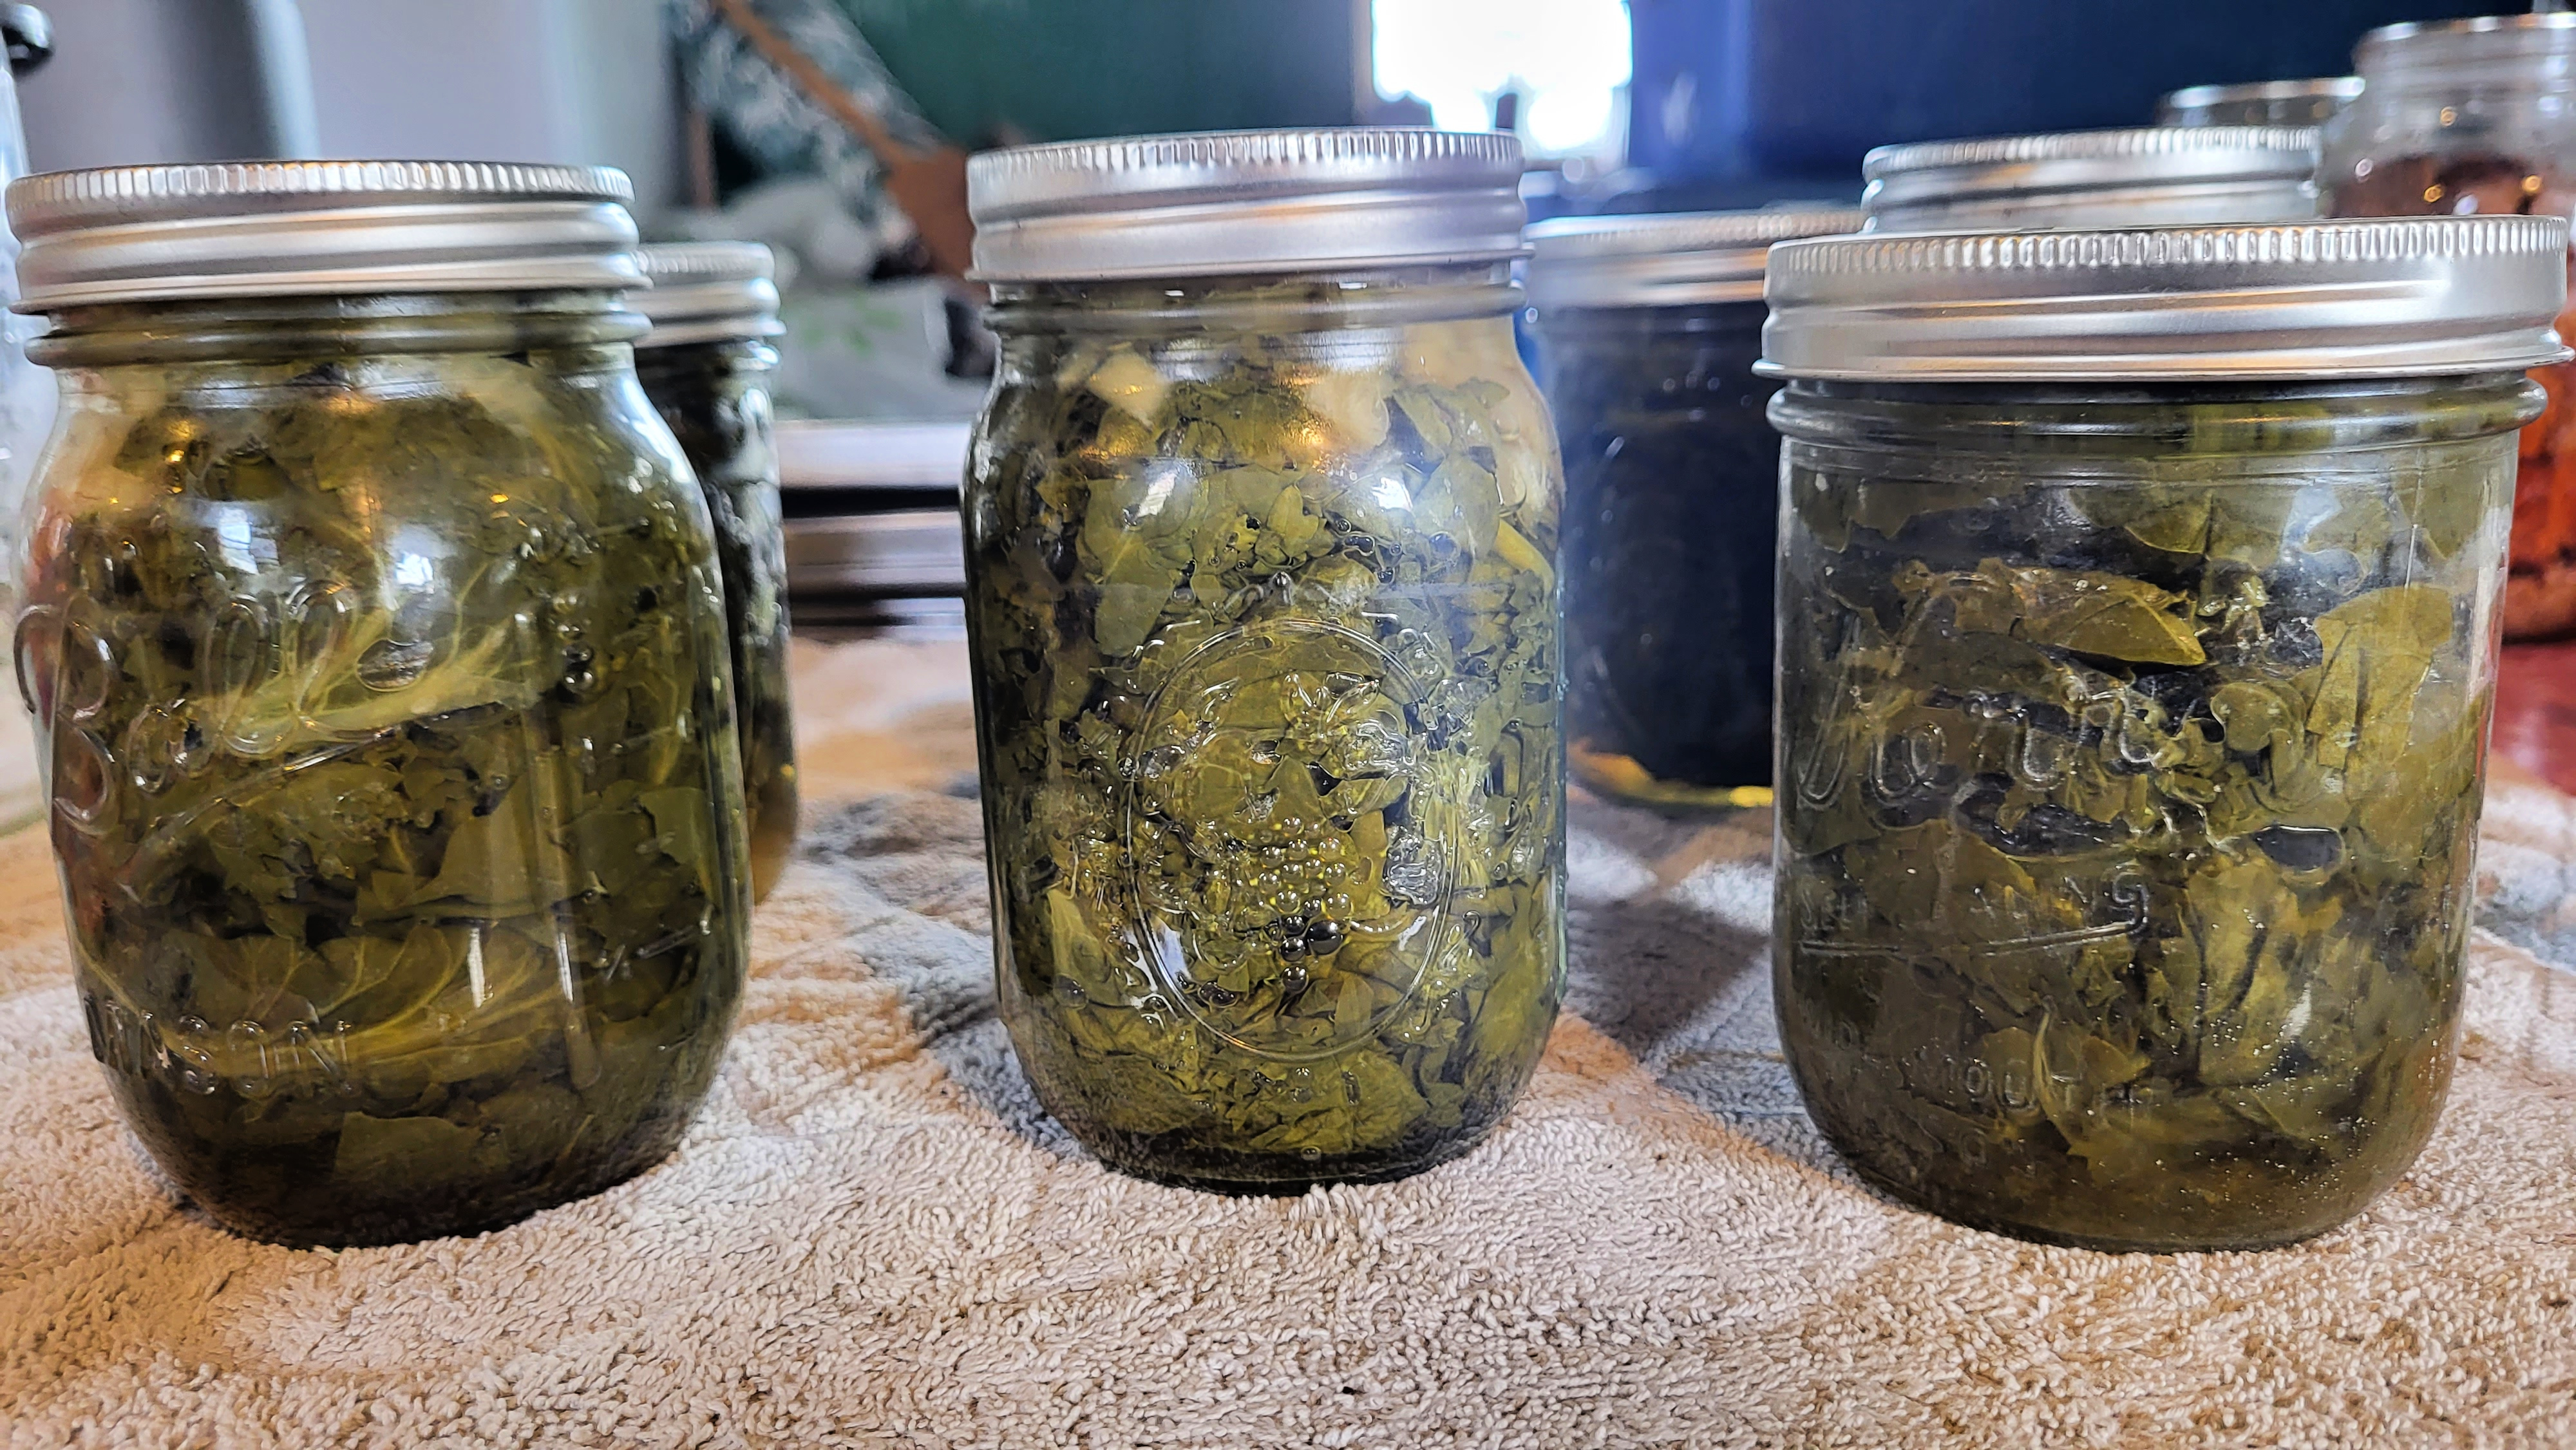 |
| Canned kale. |
Tips for Success
Canned greens tend to lose liquid during the canning process. As long as the finished jars are at least half full of liquid once they are processed, the jars are safe to store and eat.
To help prevent liquid loss, there are several steps you can take:
1. Make sure you correctly vent your pressure canner before you begin the processing countdown: Once you seal the canner's lid, wait for steam to come out of the vent, then set a timer for 10 minutes. After the 10 minutes have passed, place the weight on the canner and allow it to begin building pressure.
2. Let your processed jars cool down extra slowly: Once the processing countdown is done and you've turned the heat off, allow the canner to naturally reach zero pressure. Then let the canner sit for another 10 minutes, untouched. Next, remove the lid of the canner for only a few moments, then put it back on WITHOUT LOCKING IT. Let it sit like that for 5 minutes. Next, remove the lid completely and let the canner sit another 5 minutes. Finally, take the jars out and let them rest undisturbed on a heat-protected counter.


No comments